This will help you apply cpo’s, side art and other decals on metal and plastic.
Kit you’ll need
I’ve found the following tools to be extremely useful, and they aren’t expensive so worth having in your tool box.
> A Vinyl Squeegee – I’ve found this 3M one to be perfect for my needs.
3M Squeegee – £2.99 delivered.
> A spray bottle with adjustable nozzle. Something like this.
Spray Bottle – £1.49
> A craft knife with a fresh blade – very important you use a clean blade as it ensures a clean trim of any artwork. I use one of these stanley knives, nice solid metal so you can put a good bit of force on it without it bending and segmented blades mean you can have a fresh blade for every time you use it.
> It’s also useful to have a steel ruler and a cutting mat and also some microfibre cloths and Novus 1 for plastics, you’ll also want some masking tape for larger artwork.
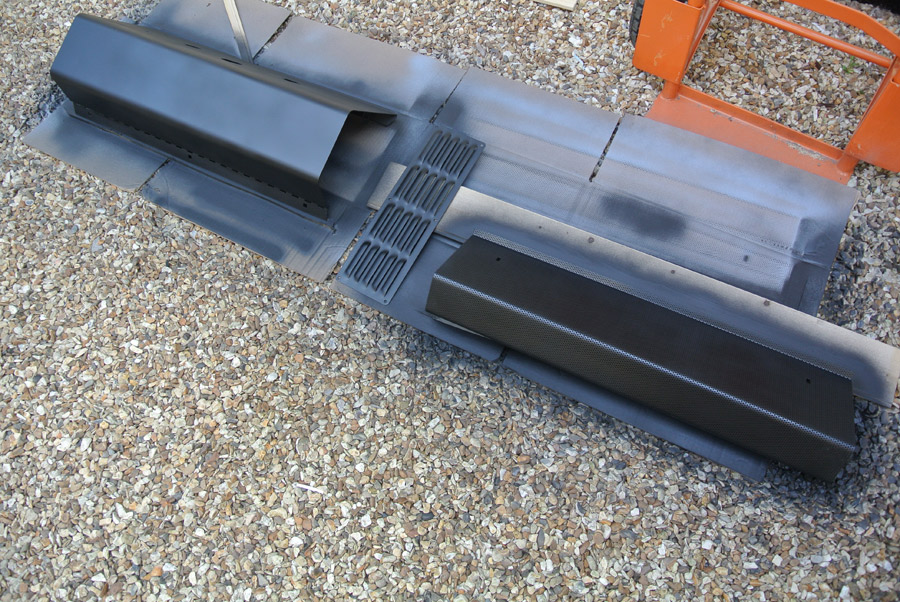
Prepare your surface
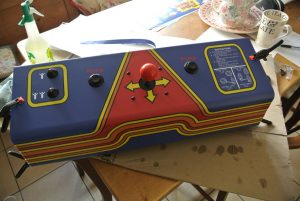
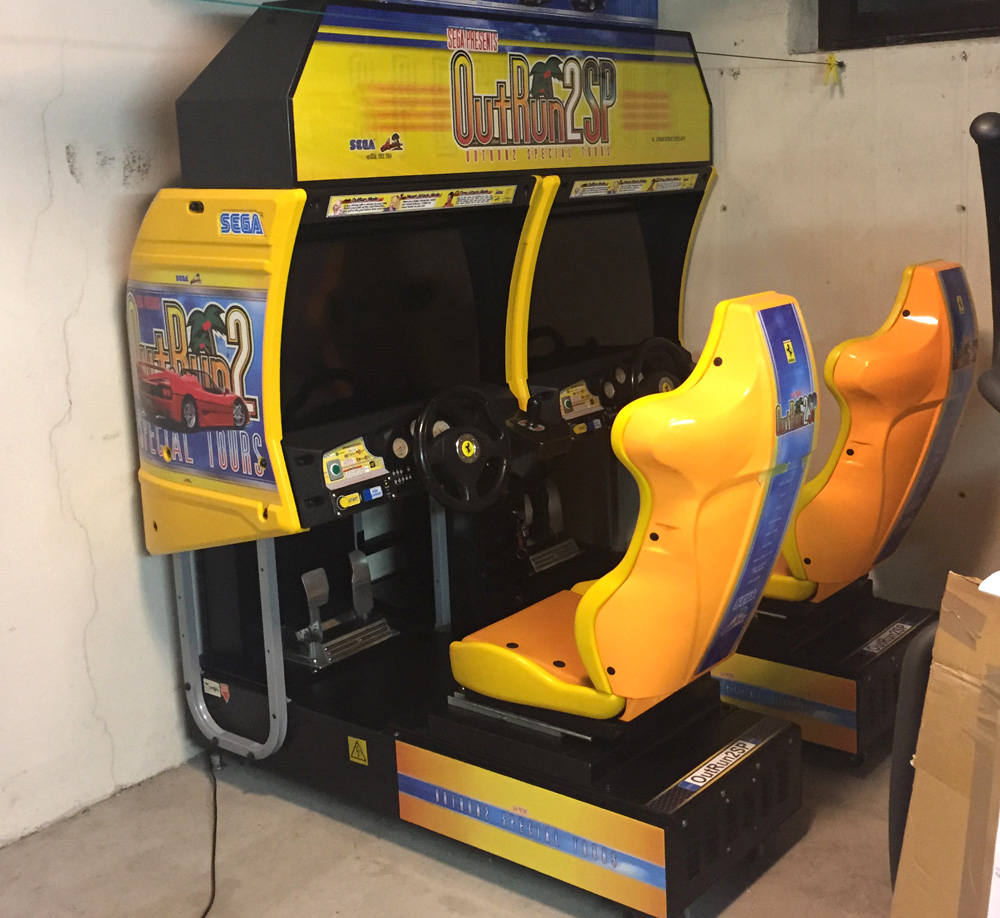
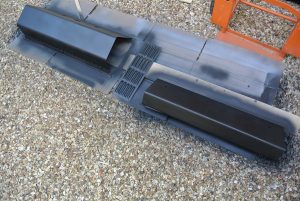
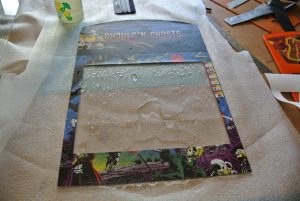
It’s very important to make sure the surface you’re applying the art to is smooth and free of any dust or crumbs of crap. Applying art to this:
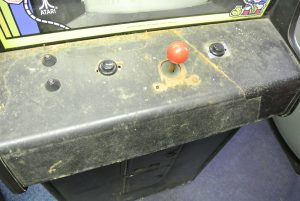
Will never work as it won’t adhere properly and will show up all lumps and bumps.
A light sanding down is sometimes adequate (and also helps ‘key’ the material for better adhesion) or you’ll need to properly sand down and repaint your metalwork.
Plastics are great to apply to, I always give a quick squirt of Novus 1 Plastic Polish and then a rub from the inside out with a microfibre cloth to remove any dust.
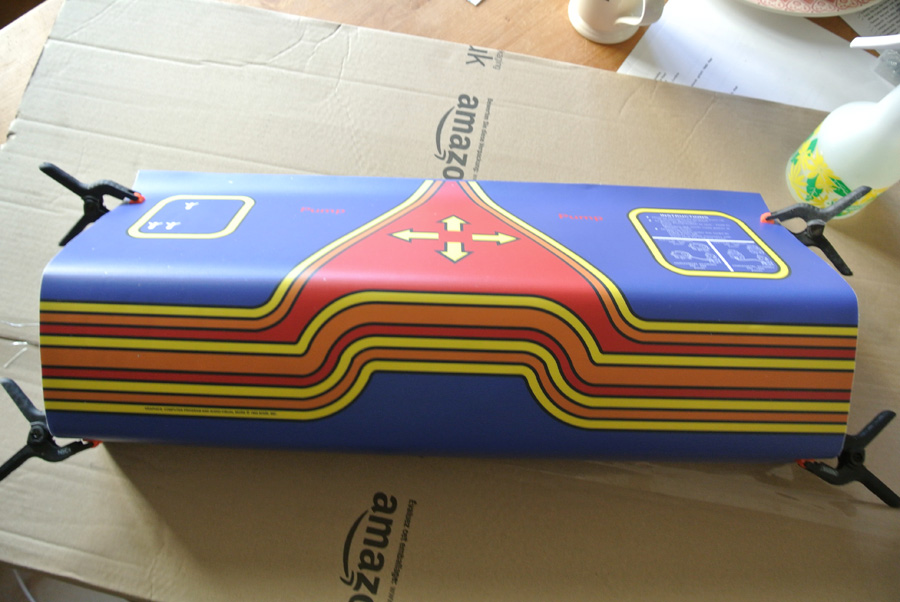
Prepare your art
Artwork will usually arrive rolled. If you try and apply it now it will likely peel away from whatever you’re sticking it to, so give it a few days either rolled in the opposite direction to how it arrived or lay it on a flat surface with something heavy weighing it down until it starts to sit flat on its own.
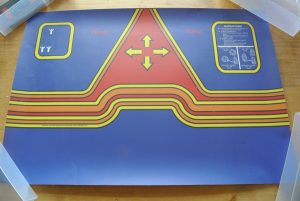
Placing your art
Offer the art up where it’s going to go and spend some time lining it up correctly. If it’s a cpo cut a small cross in the middle of the button and joystick locations so you can see underneath for perfect placement. Once it’s in the correct place tape it in place with some masking tape or use some small clamps.
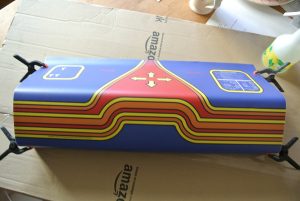
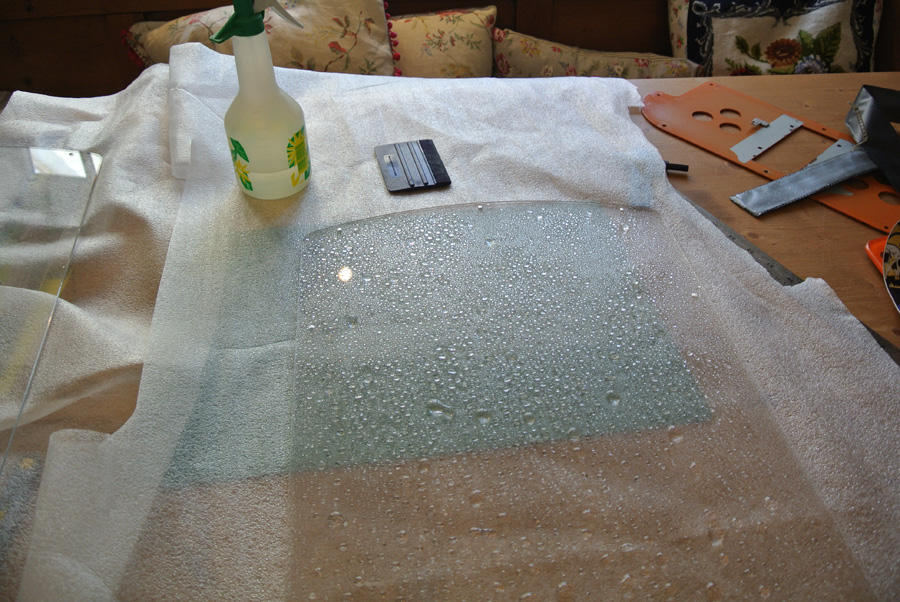
Apply the art
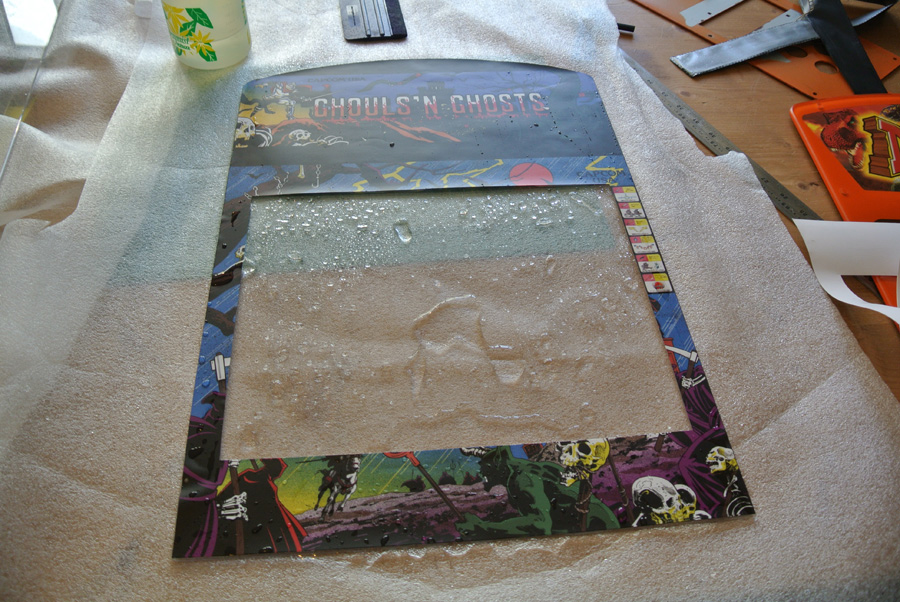
Once it’s in place you can start to apply it. Move back your clamps or take off the tape and hold the art back. I then peel off a section of the backing as far as the clamps then carefully cut the backing away with my knife. Give the metalwork a spray of water – this allows the art to be easily repositioned. You don’t have to use the spray but I’ve found it can make moving the vinyl much easier for lining up with button holes etc.

Stick down the art from the centre working outwards with your squeegee so you’re pushing any air bubbles towards the edges, any water will be forced out of the edges. Don’t push too hard or you risk stretching the vinyl.
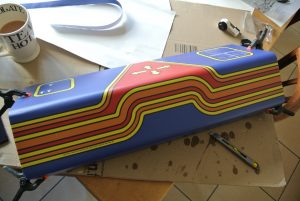
When working with plastics you’ll find you can slide the vinyl around a little, this is very useful for pieces of artwork that need to be applied in one go.
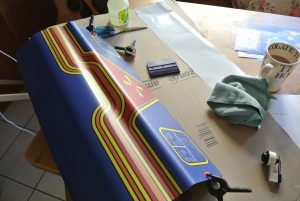
Once that section is stuck put your clamps or tape back, this makes sure the art won’t peel away.
Then work on the next part, removing the backing and again working from the centre out with your squeegee until the art is fully applied, and return the clamps/tape to hold it in place.
You may need to work in more sections depending on the size of the art, but always try to work from the centre outwards.
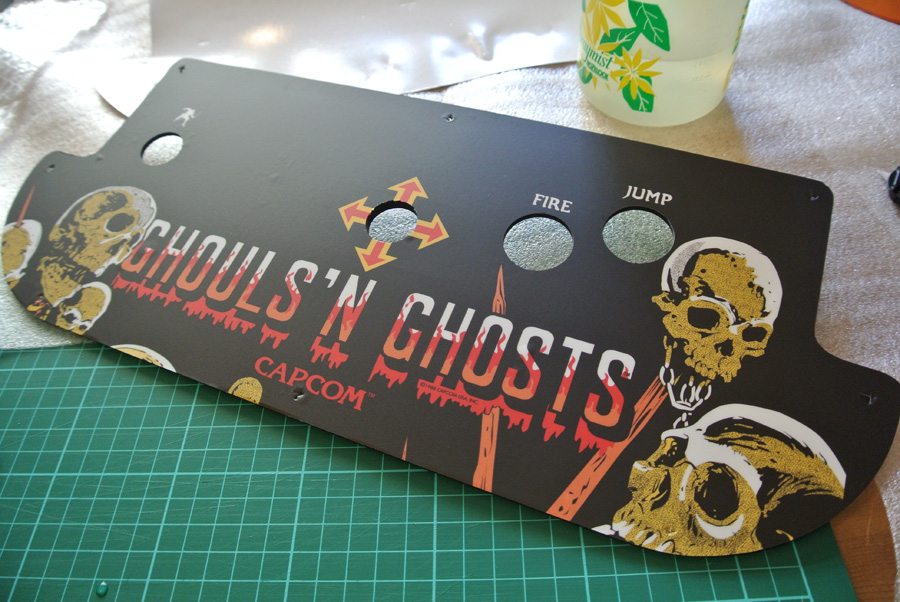
Once it’s applied you can trim away any areas for buttons etc. with a fresh blade. Just let the knife flow round, the vinyl cuts very easily.

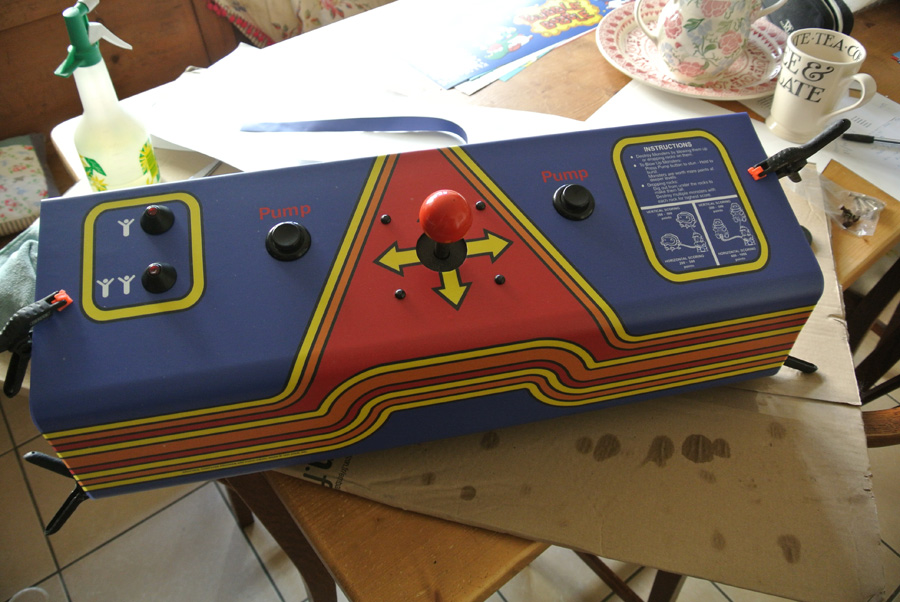
When finished leave the clamps/tape on for a day to ensure it’s properly stuck.