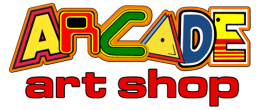
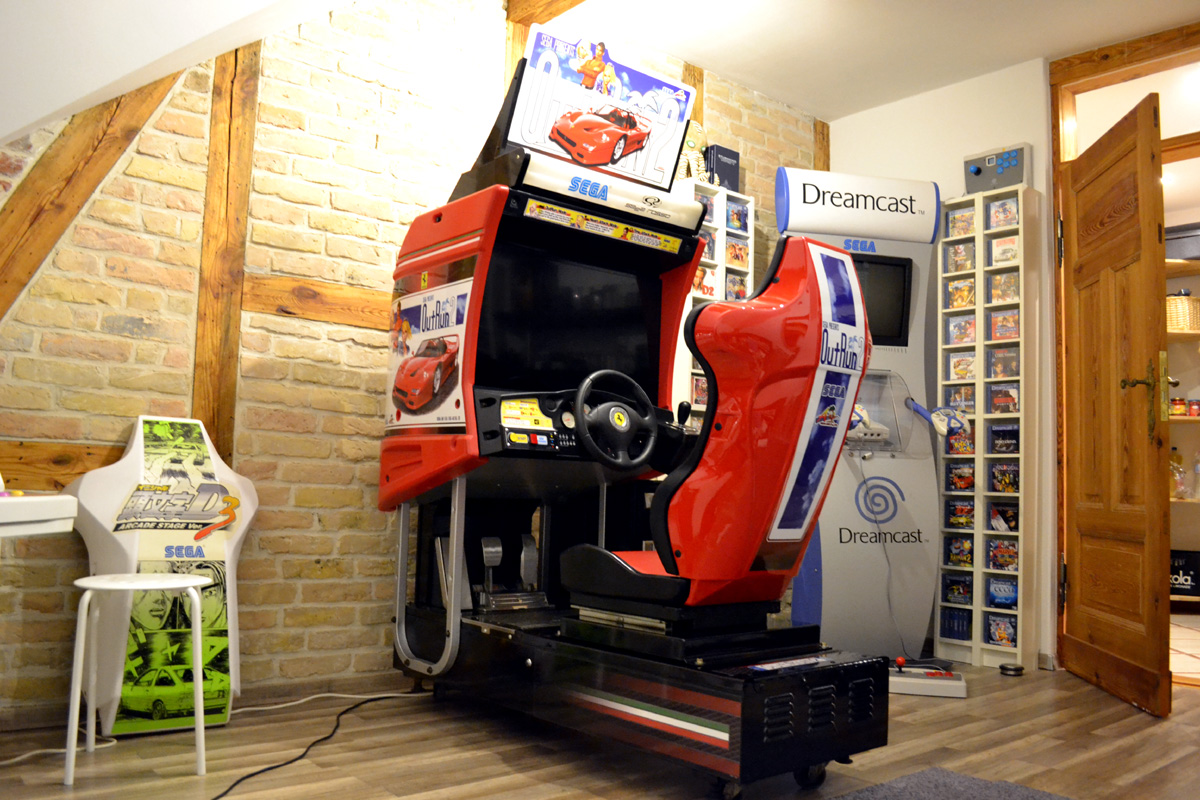
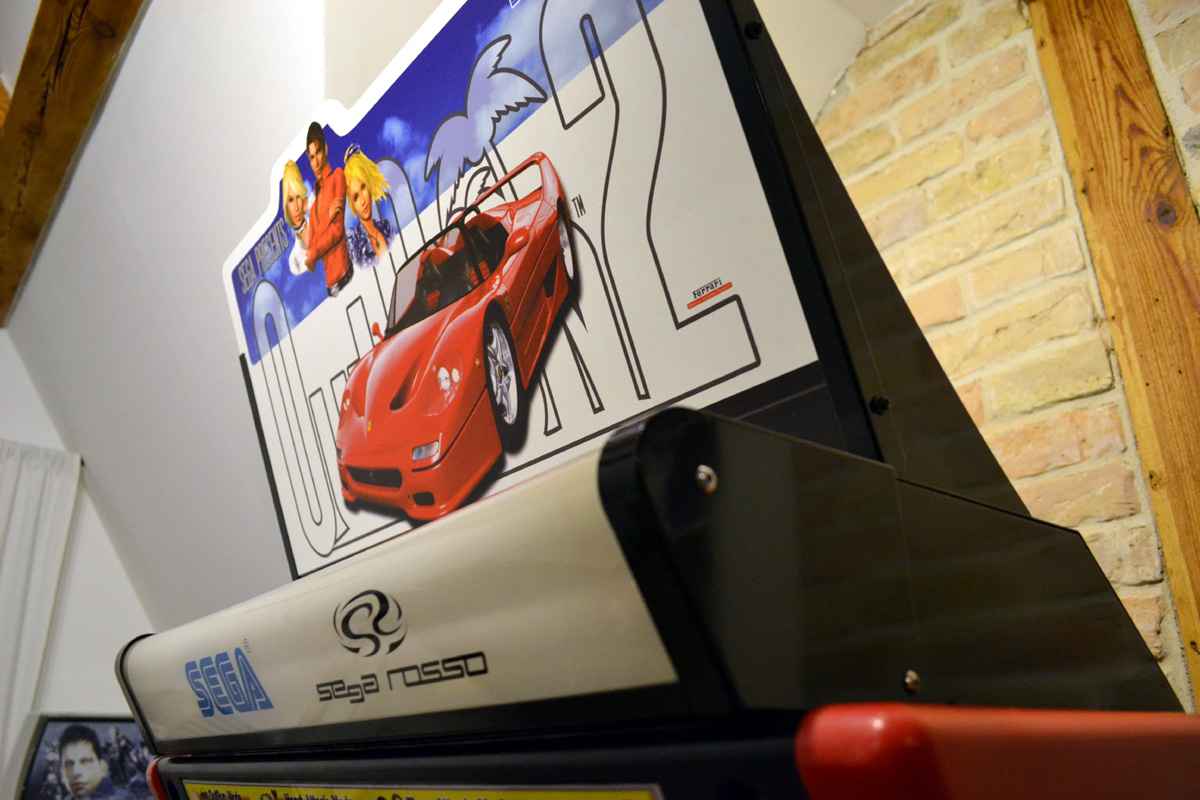
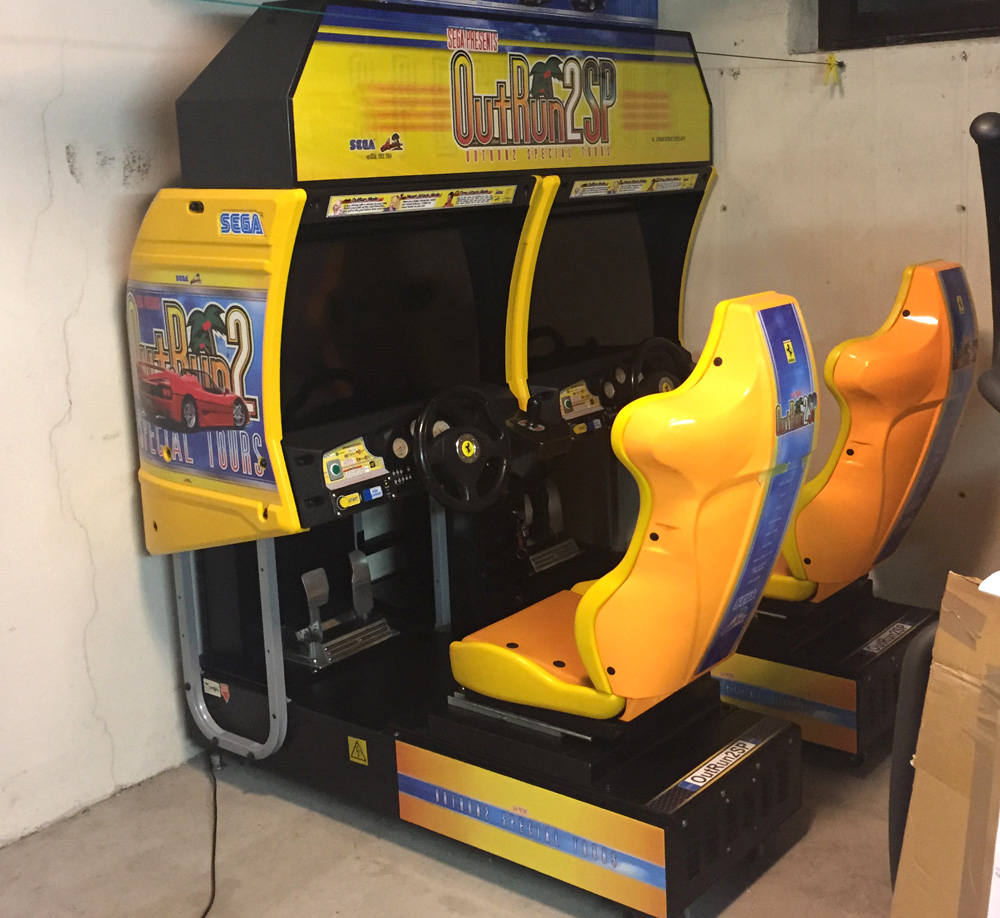
Some customers have recently completed their OutRun 2 and OutRun 2 SP cabinet restorations using complete sets of our reproduction artwork, and sent me some photos. Thanks guys, they look great!

Some customers have recently completed their OutRun 2 and OutRun 2 SP cabinet restorations using complete sets of our reproduction artwork, and sent me some photos. Thanks guys, they look great!
I’ve just finished adding some new products to the store inventory. All of them have been redrawn from scratch using scanned original pieces to get them as accurate as possible, and most haven’t been available before.

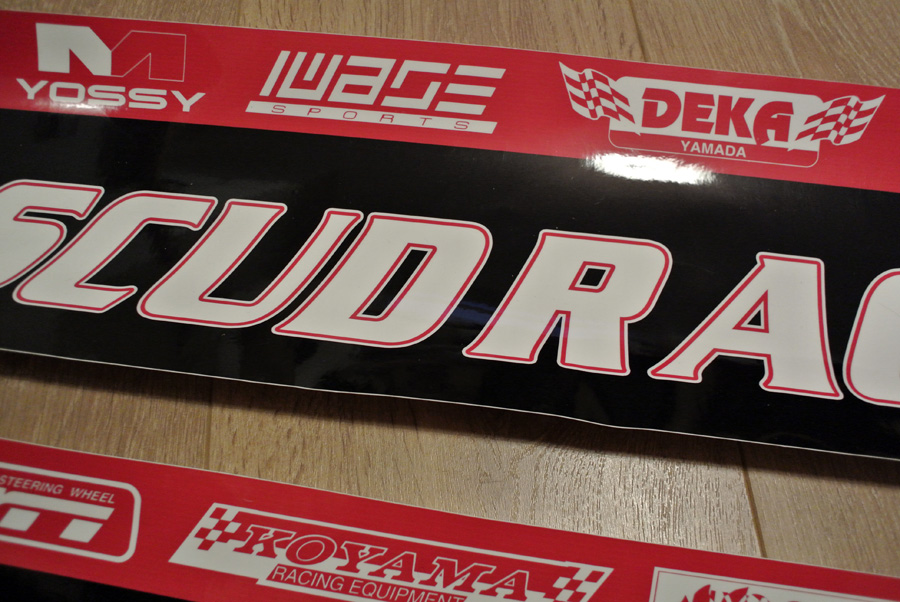
We’ve got control panel overlays for UK/Euro Turtles cabinets, these will fit both the full and midi sized cabs. Some Daytona 2 and SCUD Race pieces, and some improved Egret II Instruction Space decals which are frequently missing from cabinets.
I’ve just finished adding lots of new items to the store inventory. Some out of stock items have also been replaced now. Neo Geo MVS overlays are back in, as are some Pole Position 2 cpo’s.
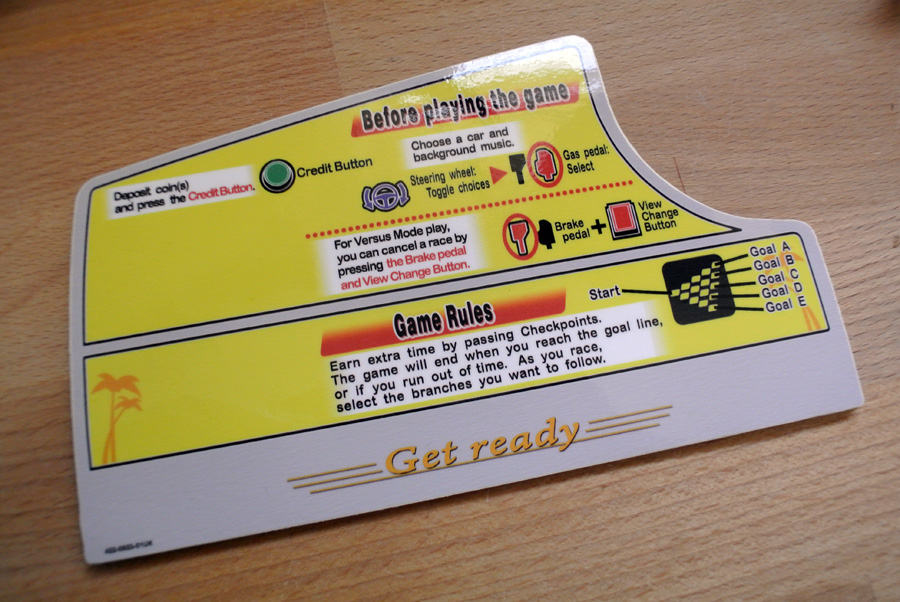
Many new items in the OutRun 2 section, these include base lid decals (red version), Japanese style base sides, and UK dash decals.
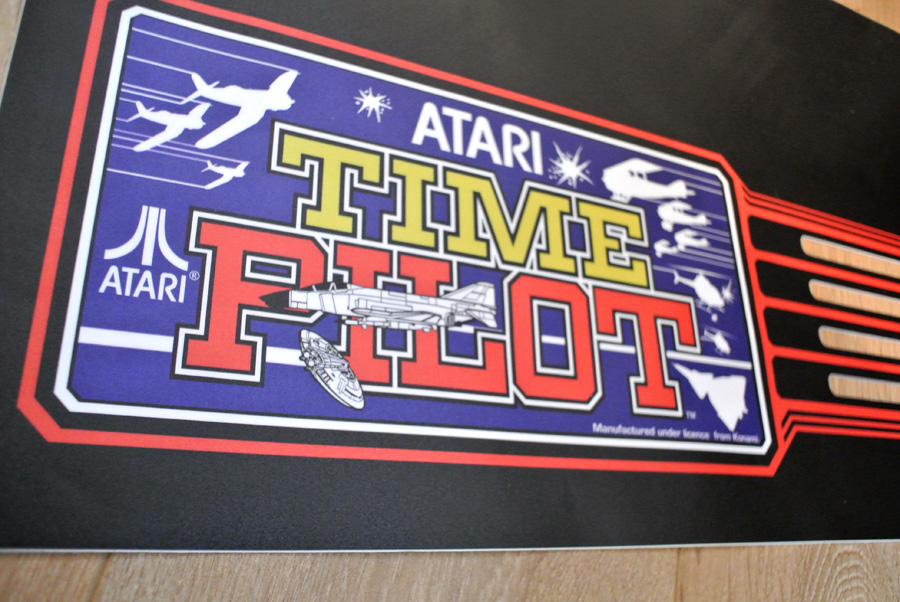
New posters also added, Time Pilot Euro cpo’s and marquees, and a selection of candy cab artwork including Egret II decal sets and cpo’s.
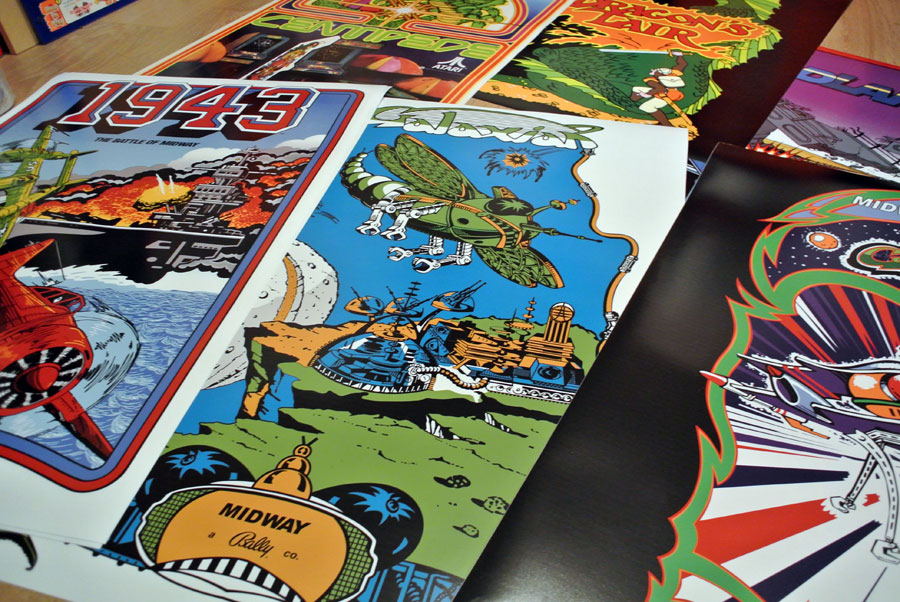
I’m just adding a new range of posters to the store. These are all superb quality images from arcade games, either original promotional posters or cabinet artwork at poster size. They are all 50x70cm so will fit standard frames available in The Range, Ikea, Homebase etc.
Printed on 170gsm Silk poster paper which gives a lovely sheen and colour.
I’ve just finished working on a couple of bits of Atari art that I’ve had on the to-do list a long time.
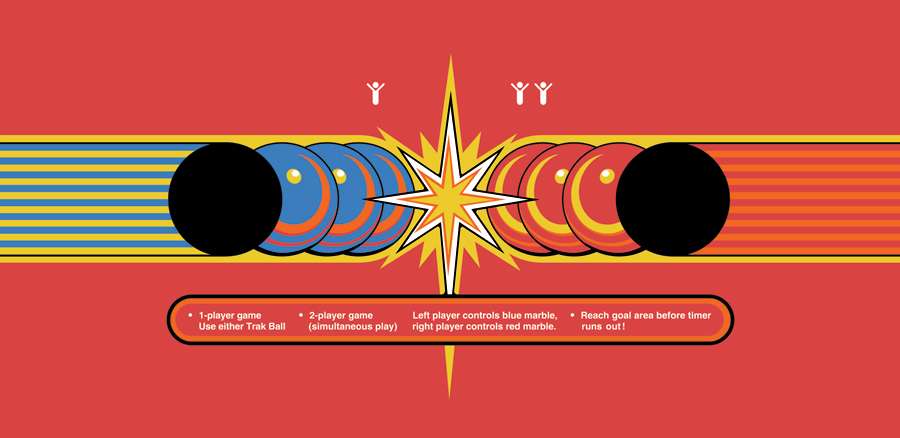
First up is the Marble Madness CPO, I was given a NOS one to scan in so that made it very easy to work from.
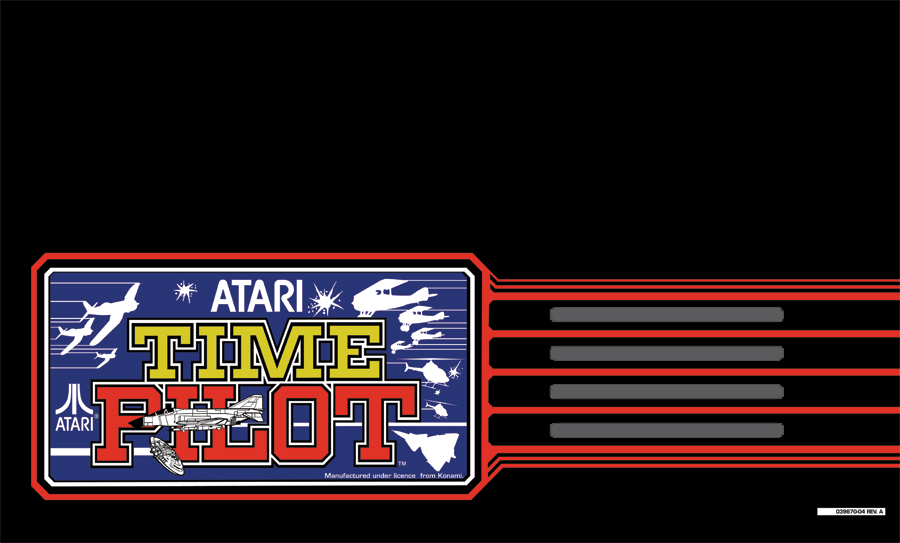
Next up was a Euro Time Pilot marquee and CPO, I have one of these cabs in my collection which is in need of new art so was keen to get these pieces ready!
Credit for the vector work on these 2 goes to Ravage who created the original files, I’ve updated them with a few alterations and colour changes.
I’ve got proofs of these 3 pieces on the way soon, once I’ve checked them over against my originals I’ll get them added to the store inventory.
I can now ship artwork to the following countries:
Belgium, France, Germany, Hungary, Italy, Netherlands, Sweden.
There’s a flat rate of £16 per order, which will be shipped by Tracked and Insured Airmail.
I’ve just updated the stock list with a few new additions.
Electrocoin MVS Overlays are back in stock
https://www.arcadeartshop.com/product/electrocoin-neo-geo-mvs-red-cabinet-control-panel-overlay/
Electrocoin Track & Field CPO’s are now available. I only had a small number this delivery but more are due soon.
https://www.arcadeartshop.com/product/electrocoin-track-field-control-panel-overlay/
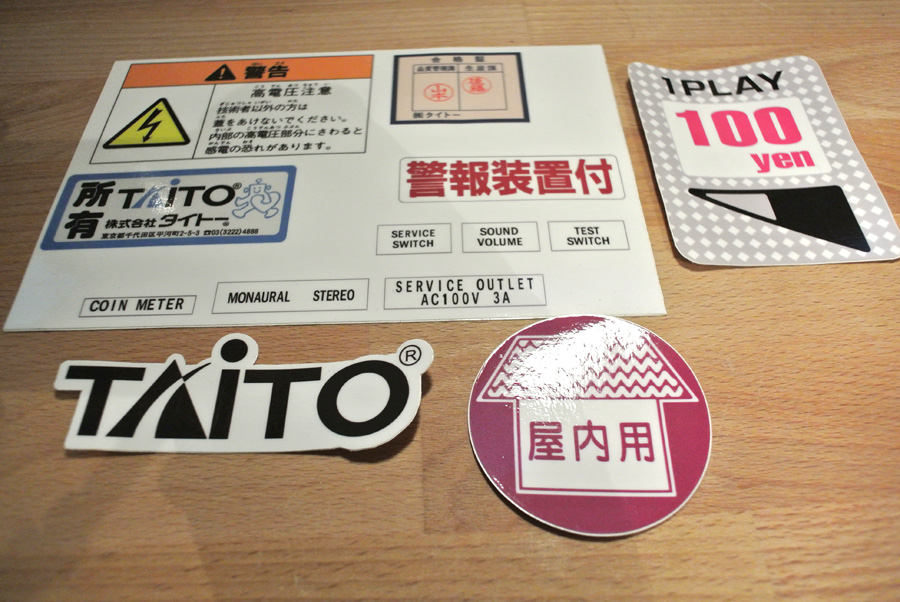
And added a few smaller decals which include Taito Egret 2 100 Yen, Salamander coin door arrows, high/low shifter, Afterburner bezel and Paperboy handlebar decals.
This will help you apply cpo’s, side art and other decals on metal and plastic.
I’ve found the following tools to be extremely useful, and they aren’t expensive so worth having in your tool box.
> A Vinyl Squeegee – I’ve found this 3M one to be perfect for my needs.
3M Squeegee – £2.99 delivered.
> A spray bottle with adjustable nozzle. Something like this.
Spray Bottle – £1.49
> A craft knife with a fresh blade – very important you use a clean blade as it ensures a clean trim of any artwork. I use one of these stanley knives, nice solid metal so you can put a good bit of force on it without it bending and segmented blades mean you can have a fresh blade for every time you use it.
> It’s also useful to have a steel ruler and a cutting mat and also some microfibre cloths and Novus 1 for plastics, you’ll also want some masking tape for larger artwork.
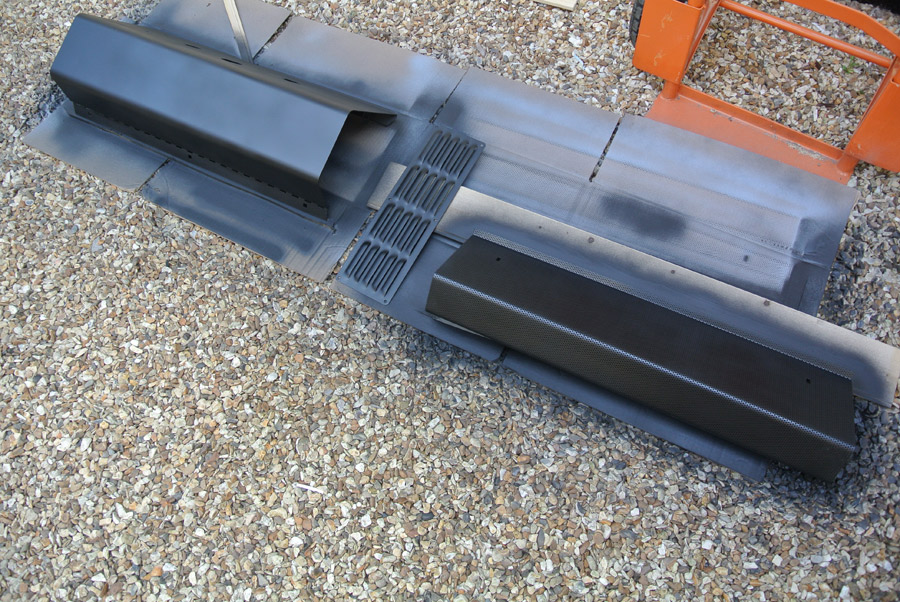
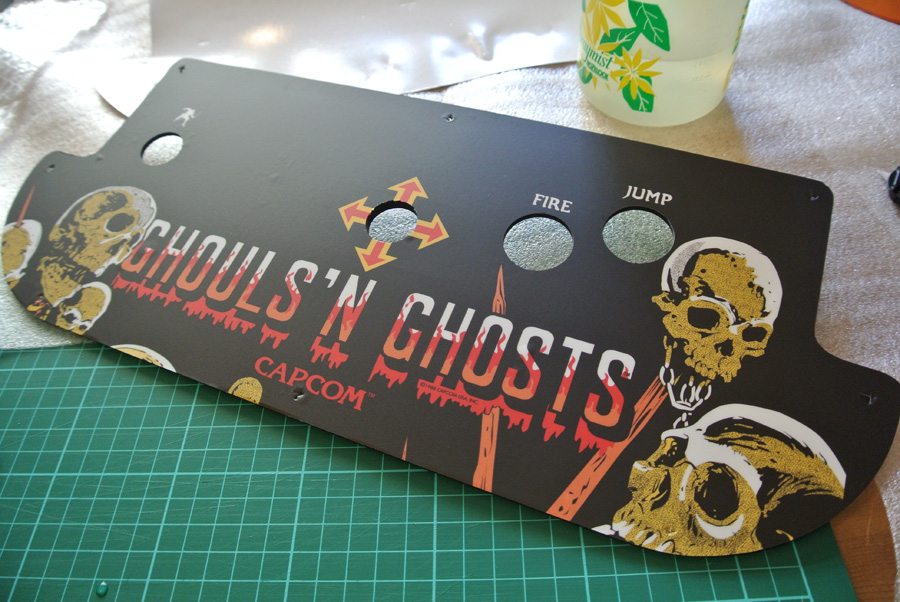
It’s very important to make sure the surface you’re applying the art to is smooth and free of any dust or crumbs of crap. Applying art to this:
Will never work as it won’t adhere properly and will show up all lumps and bumps.
A light sanding down is sometimes adequate (and also helps ‘key’ the material for better adhesion) or you’ll need to properly sand down and repaint your metalwork.
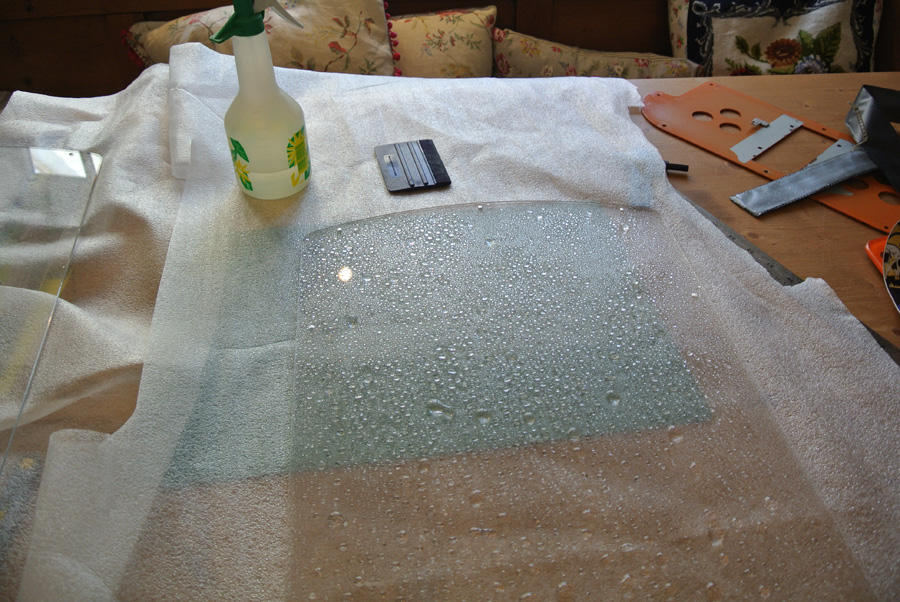
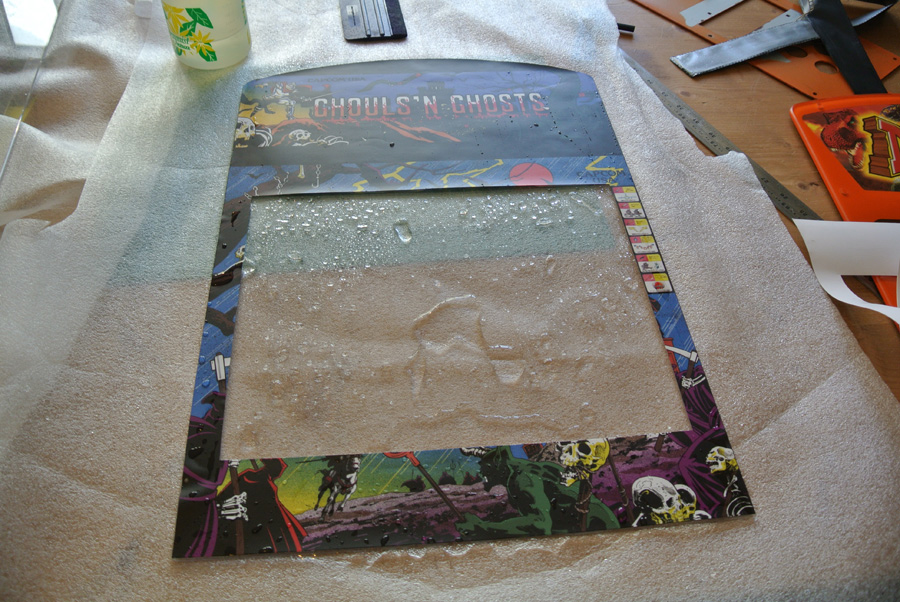
Plastics are great to apply to, I always give a quick squirt of Novus 1 Plastic Polish and then a rub from the inside out with a microfibre cloth to remove any dust.
Artwork will usually arrive rolled. If you try and apply it now it will likely peel away from whatever you’re sticking it to, so give it a few days either rolled in the opposite direction to how it arrived or lay it on a flat surface with something heavy weighing it down until it starts to sit flat on its own.
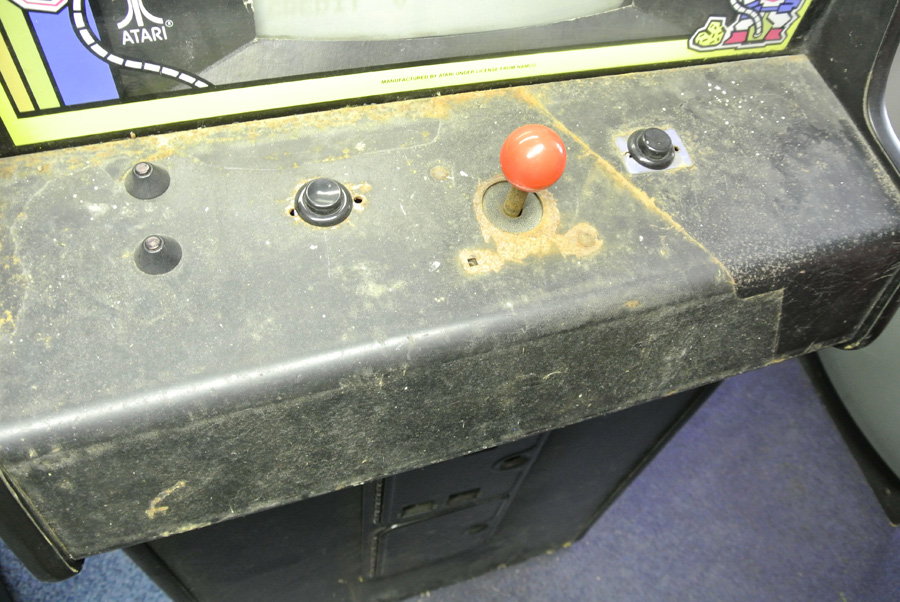
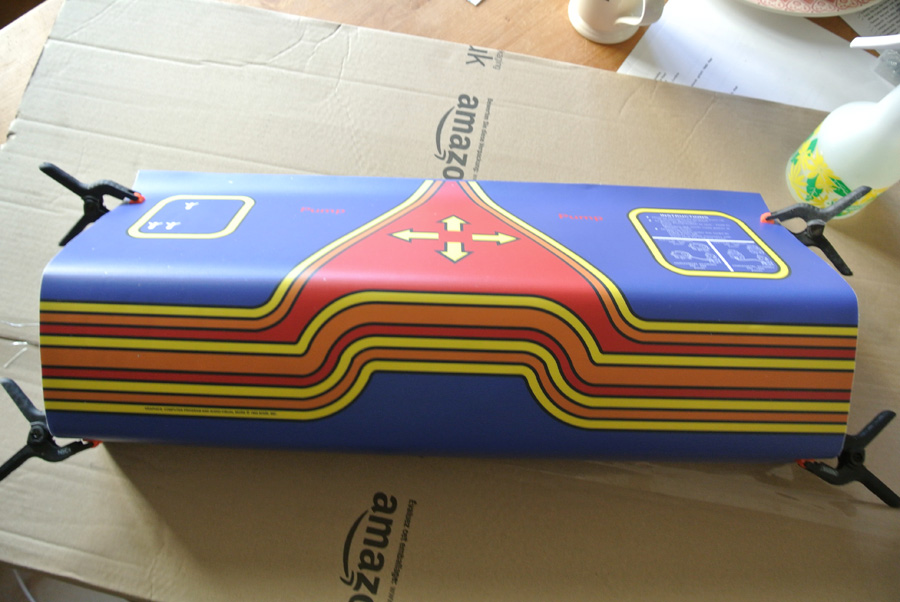
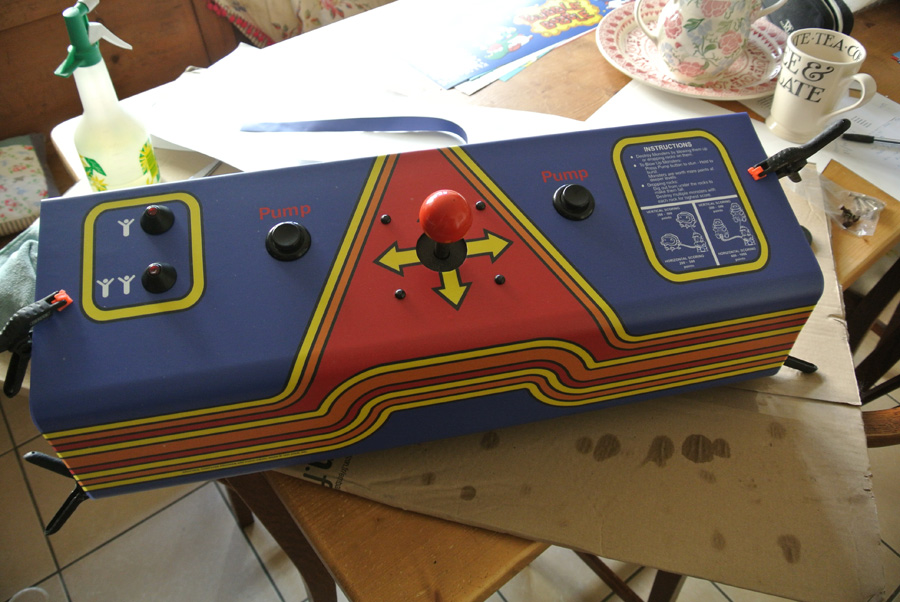
Offer the art up where it’s going to go and spend some time lining it up correctly. If it’s a cpo cut a small cross in the middle of the button and joystick locations so you can see underneath for perfect placement. Once it’s in the correct place tape it in place with some masking tape or use some small clamps.
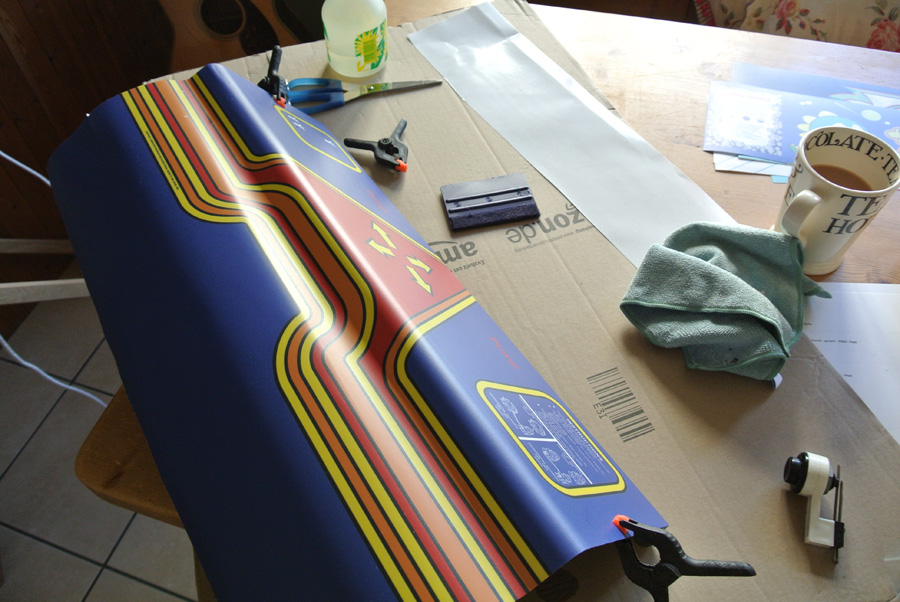
Once it’s in place you can start to apply it. Move back your clamps or take off the tape and hold the art back. I then peel off a section of the backing as far as the clamps then carefully cut the backing away with my knife. Give the metalwork a spray of water – this allows the art to be easily repositioned. You don’t have to use the spray but I’ve found it can make moving the vinyl much easier for lining up with button holes etc.
Stick down the art from the centre working outwards with your squeegee so you’re pushing any air bubbles towards the edges, any water will be forced out of the edges. Don’t push too hard or you risk stretching the vinyl.
When working with plastics you’ll find you can slide the vinyl around a little, this is very useful for pieces of artwork that need to be applied in one go.
Once that section is stuck put your clamps or tape back, this makes sure the art won’t peel away.
Then work on the next part, removing the backing and again working from the centre out with your squeegee until the art is fully applied, and return the clamps/tape to hold it in place.
You may need to work in more sections depending on the size of the art, but always try to work from the centre outwards.
Once it’s applied you can trim away any areas for buttons etc. with a fresh blade. Just let the knife flow round, the vinyl cuts very easily.
When finished leave the clamps/tape on for a day to ensure it’s properly stuck.
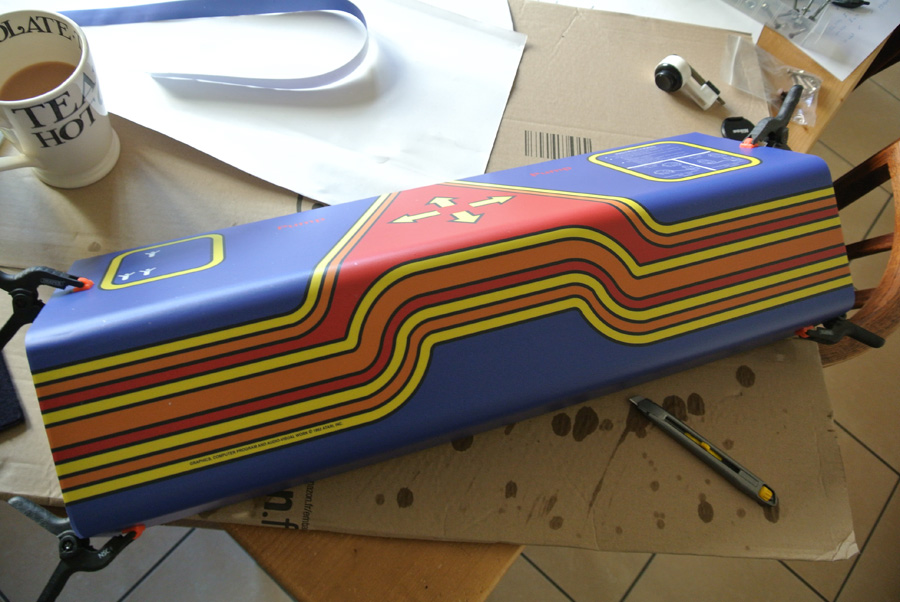
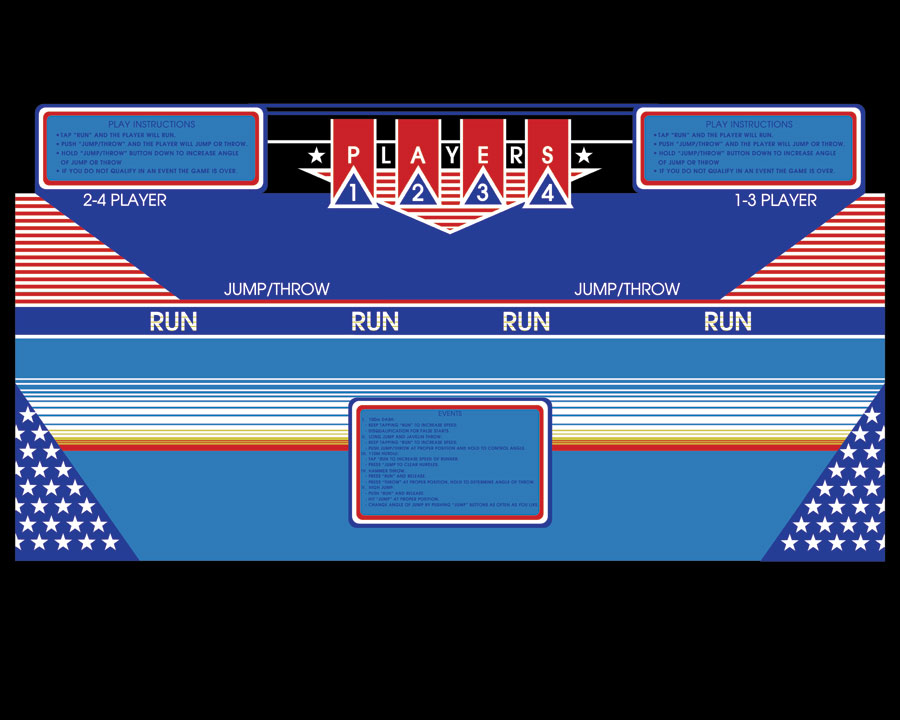
Just finished working on this Track & Field overlay made specifically for Electrocoin cabinets, using the nice design taken from the US cabinets. First batch of prints are due in a week.
They’ll be added to the store inventory soon.
![]()
I’ve been running regular artwork orders for members on the UK arcade collecting forums UKVac and Jamma+, who up until then could only source repro artwork in the US. My day job involved a lot of Photoshop and Illustrator work and I was able to make use of that in restoring my own collection of arcade games, and after getting a number of requests for artwork from people thought I would offer up some pieces. Things progressed from there and I was soon getting 30-40 orders a month, so decided it was time I set up a proper website which held stock of the most popular pieces.
Much of this artwork has been drawn from scratch by me, in particular the OutRun 2 art which has been unavailable from Sega for many years now and pieces were becoming near impossible to find. With help from several people I was able to get scans of some of the very last new-old-stock pieces to use as a base for reproduction pieces. I then spent a long time sourcing a good printing company who could get a good match for the print quality and finishes required.